Import
In Lightroom in the “Library” Module, choose the Export button in lower left. If you are transferring images from a Card, Choose “Add” at the TOP of the screen; If from your hard drive and you don’t want duplicate images wasting space chose “Move”.
Then in the right hand column, make your selections for how you want the photo imported. You can set, “no duplicates”, “Custom name” and which folder you want to put them in. Make sure this folder is in the part of your Hard drive where you will keep all of your images. Mine are in “JJBLightroom” folder inside my “Pictures” folder.
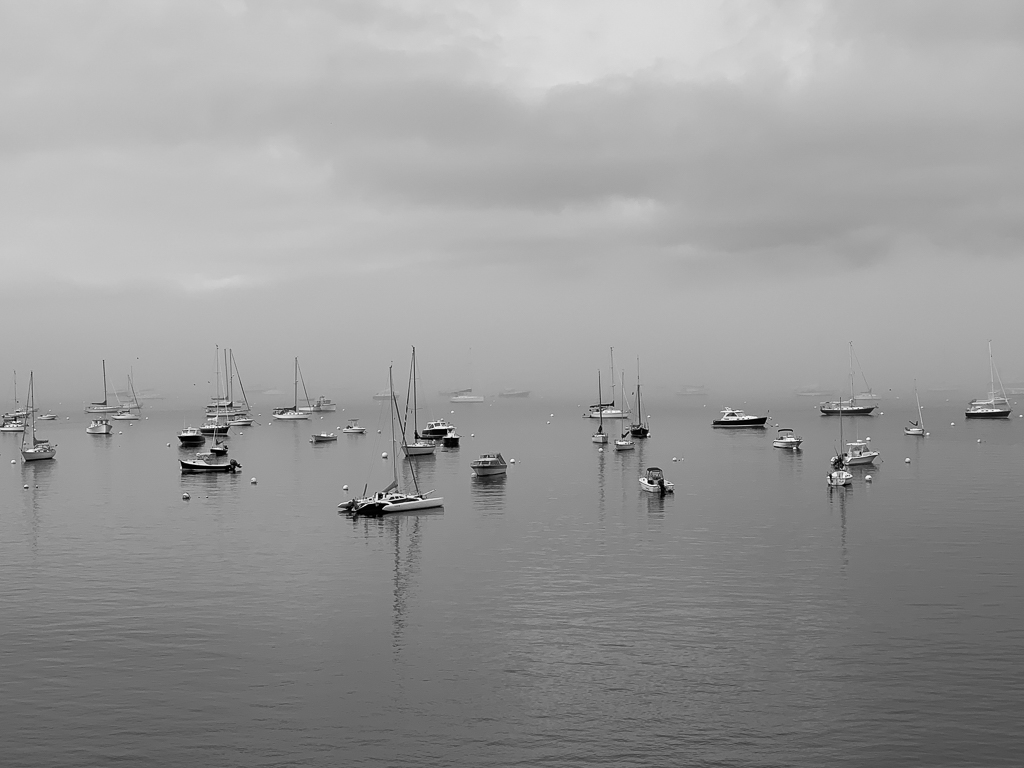
To show before/after images, first export your image BEFORE you make any edits; Then export your image AFTER you make changes . You can also select these in the history panel if you know how to do that.
Export
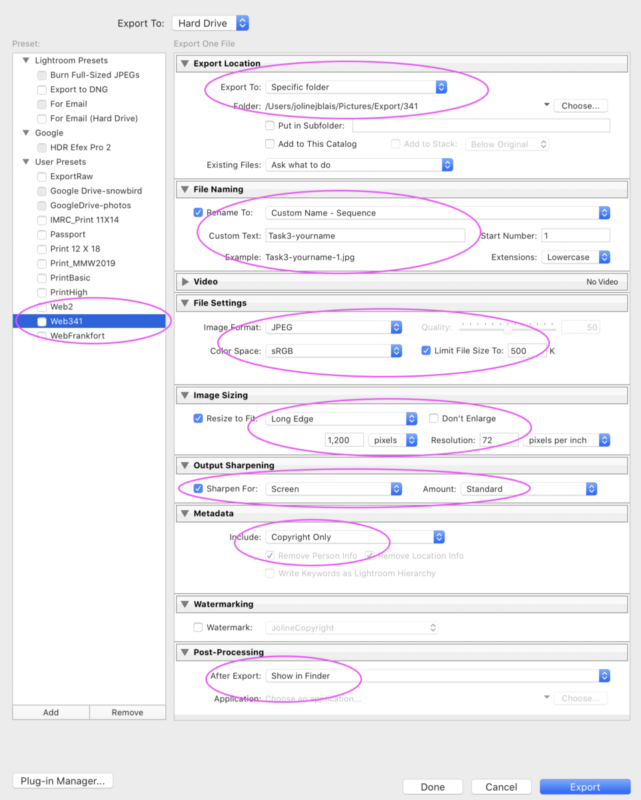
Below you will see the export settings I’d like you to use for the web. Later we will talk about ways to show full quality images online. But for now, these will work better.
In Lightroom, select a photo(s) to export and then go to File–>Export, and a dialogue like this will come up. Click the ADD button in the lower left if you want to add a new preset & name it “Web” since it’s for exporting to the web.
Next use all the settings below, using task number & your name for file names. Then MAKE SURE the Web label on the left side of the screen is selected–if not, Control-cick on it so a context menu comes up & choose “Update with existing settings” That will make sure all the changes you just made to the Import preset are saved under that name.

