Practice Using Aperture Priority, Focus Point, Manual focus
For this task, your goal is to produce three “sets” of Before/After photos using the “Add Twenty20 ” button just above, where you show the effects of any three of the techniques below. I urge you to try them all , then elect your best three sets for submission. Try to take comparison photos, so you could try same sevens with wide then narrow aperture for contrast, or near then far focus for contrast.
You will need jpgs of all photos to upload, so Raw +L or just L will be best image quality.
First, set your camera to:
- Mode: Av,
- Image Quality: Raw +L
- Lens: auto-focus, except where using manual focus to change objects in focus
- Metering Mode: Evaluative
- ISO: A Auto, unless outside in bright light–you can use 100
Try playing with each of these options–you can violate the rules to see the effect, of course!!
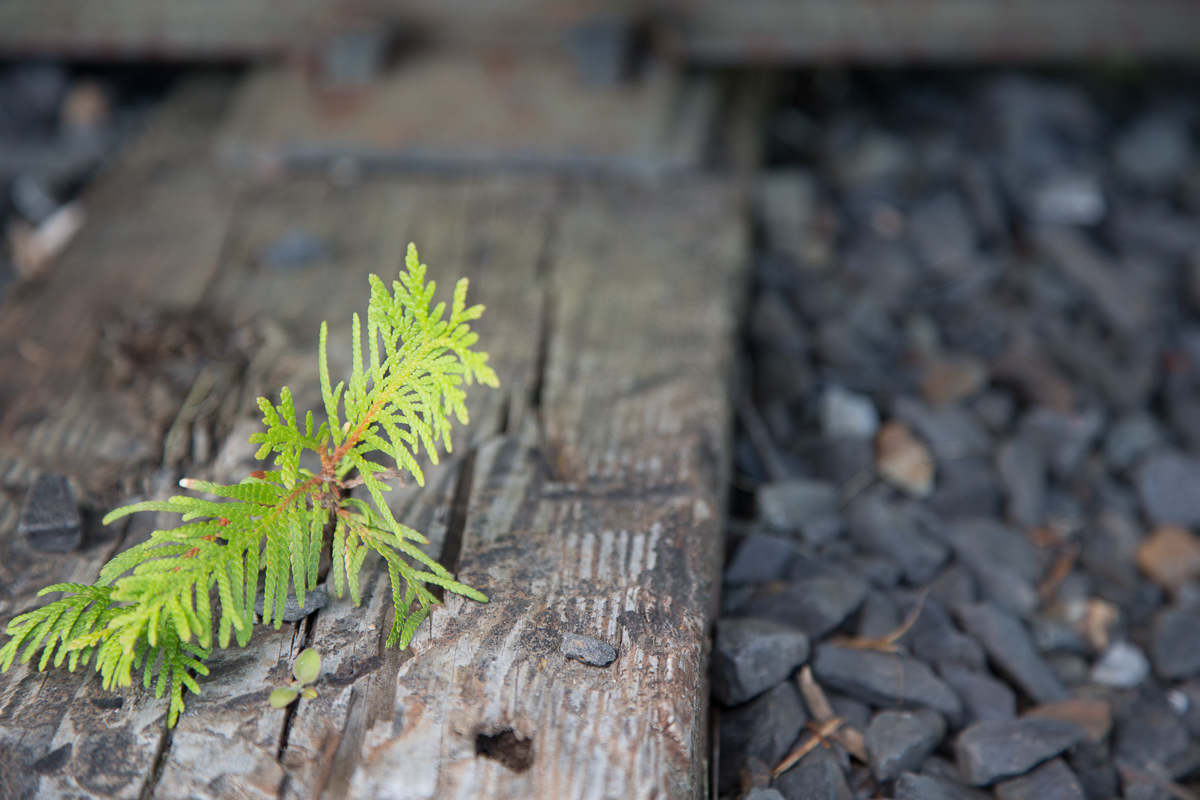
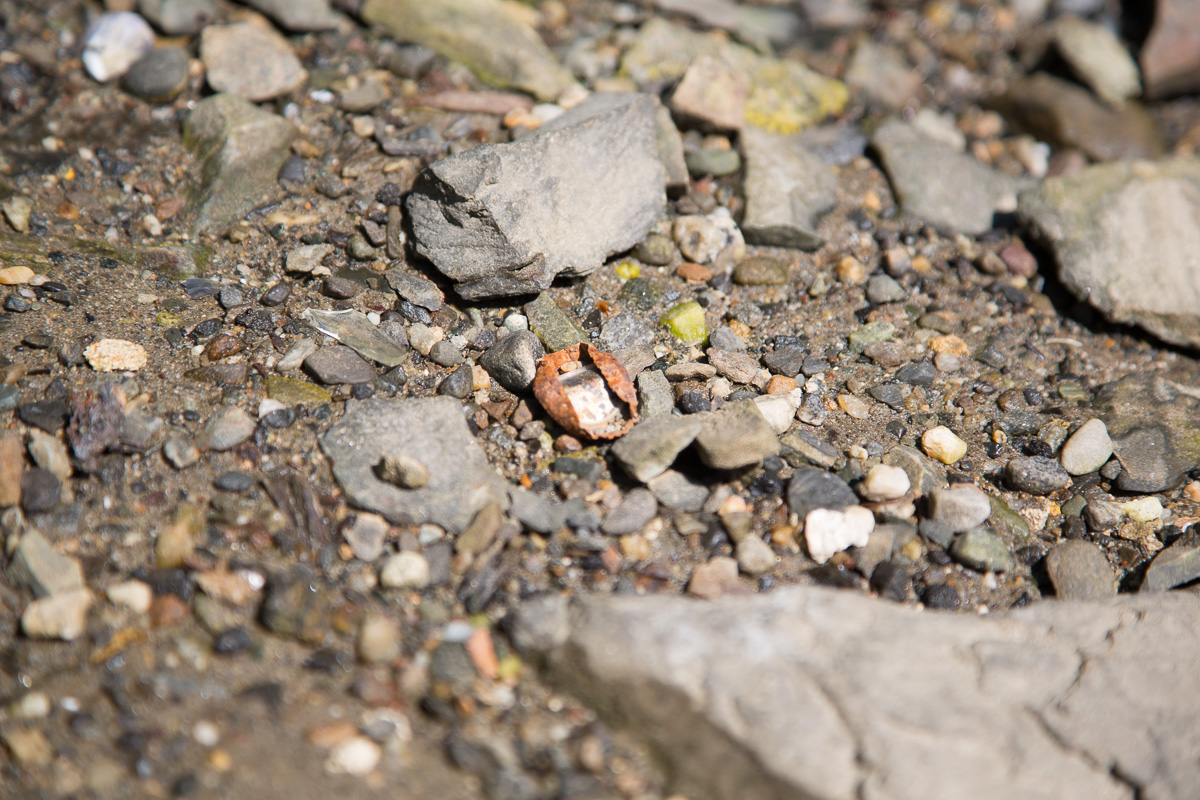
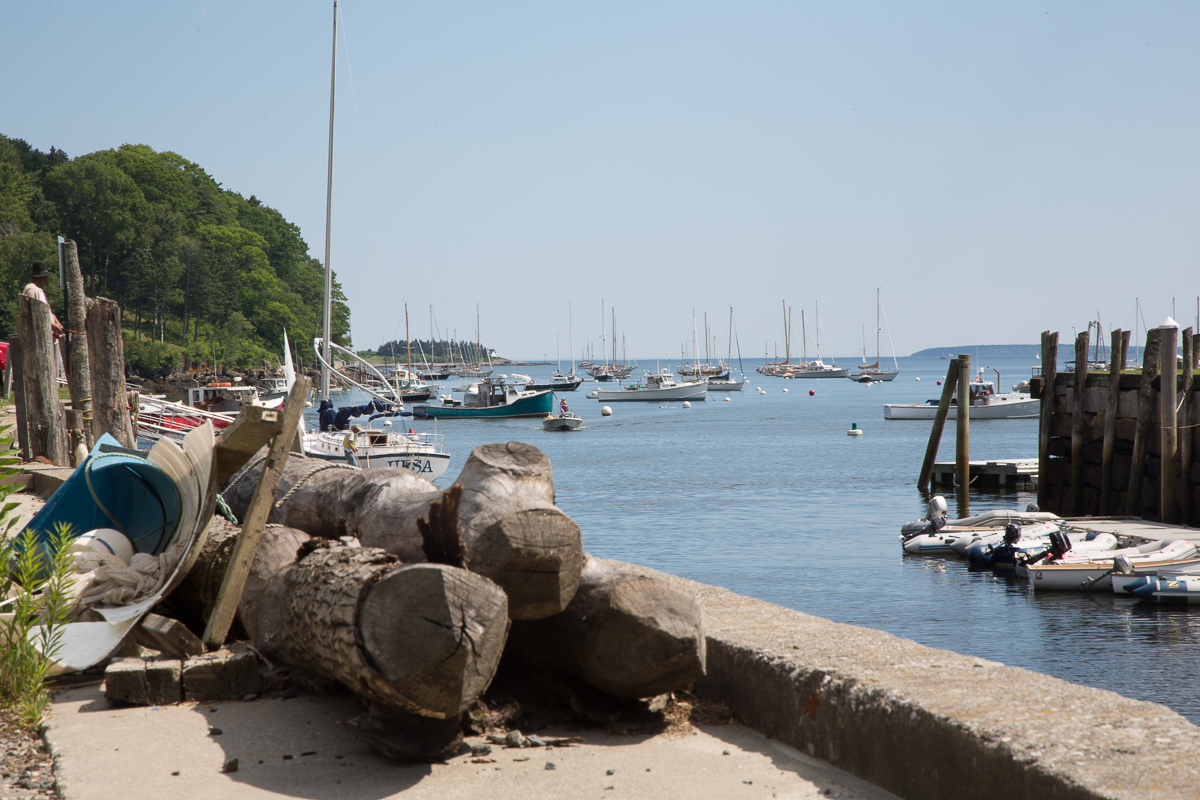
1-Foreground/background: Close vs Far focus–> Wide aperture–low numbers
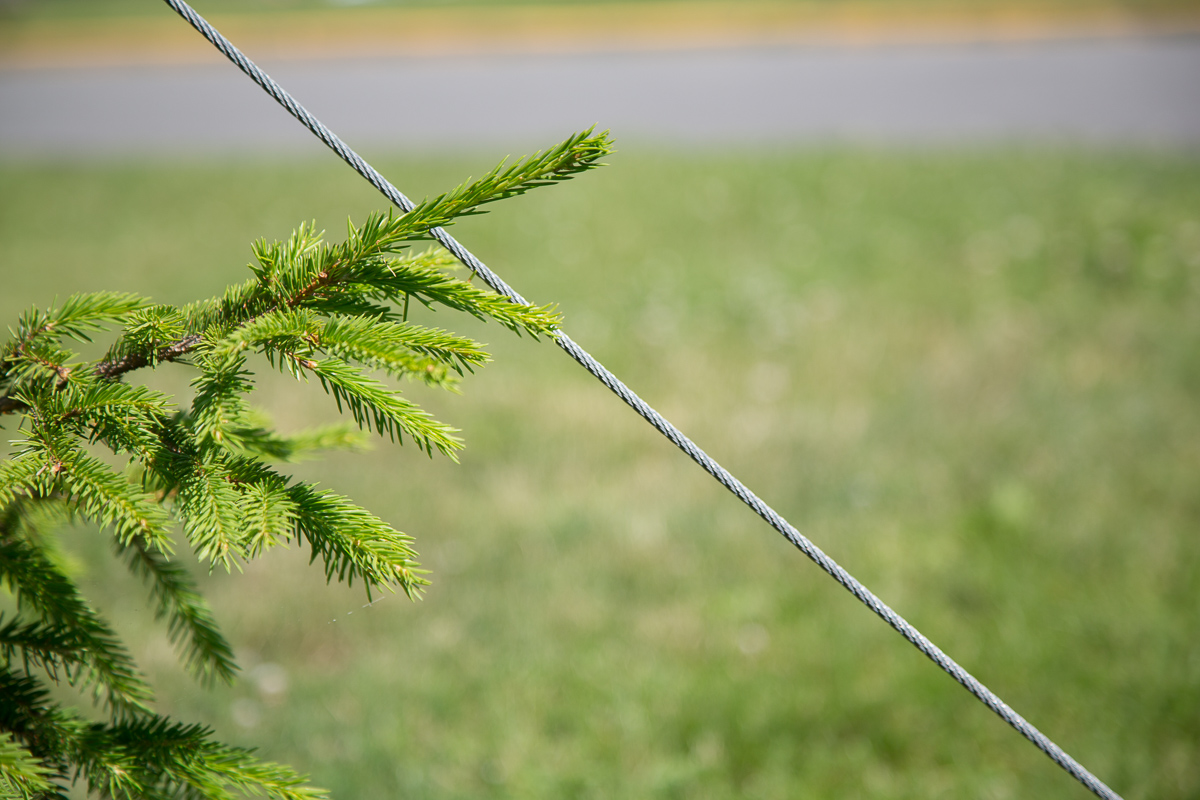
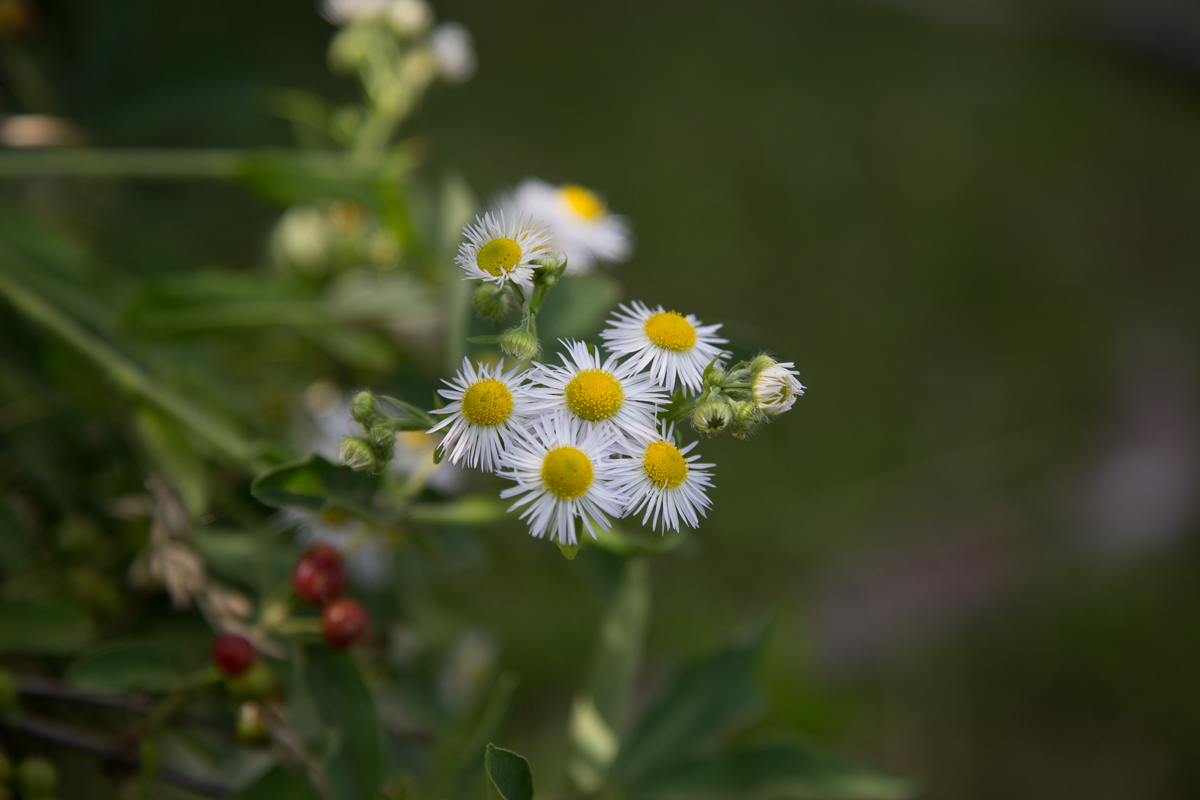
- Pick a scene with interesting objects in both the foreground and background. With lens in auto-focus, and using the camera’s focus points, first focus on a near object, and take a photo.
- Next focus on a far object and take a photo.
- Your goal is to have good sharp focus on near then far object with the rest of the image more blurred.
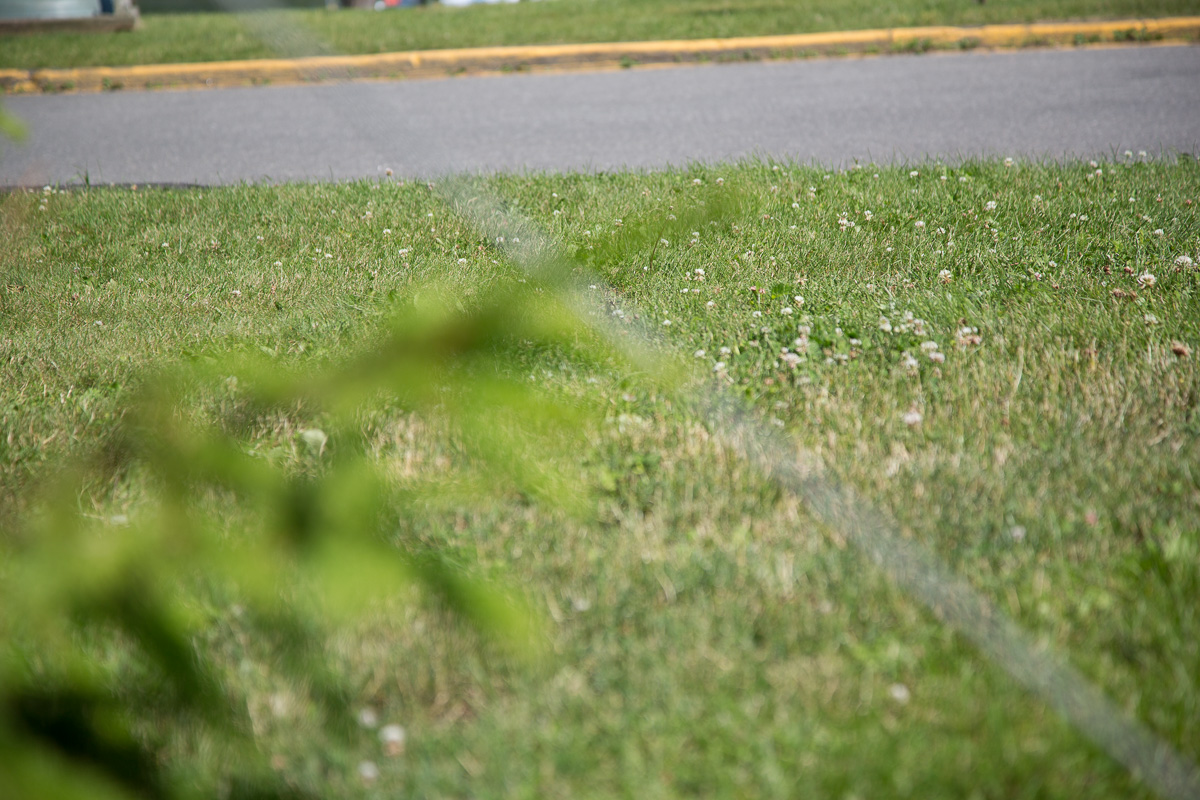
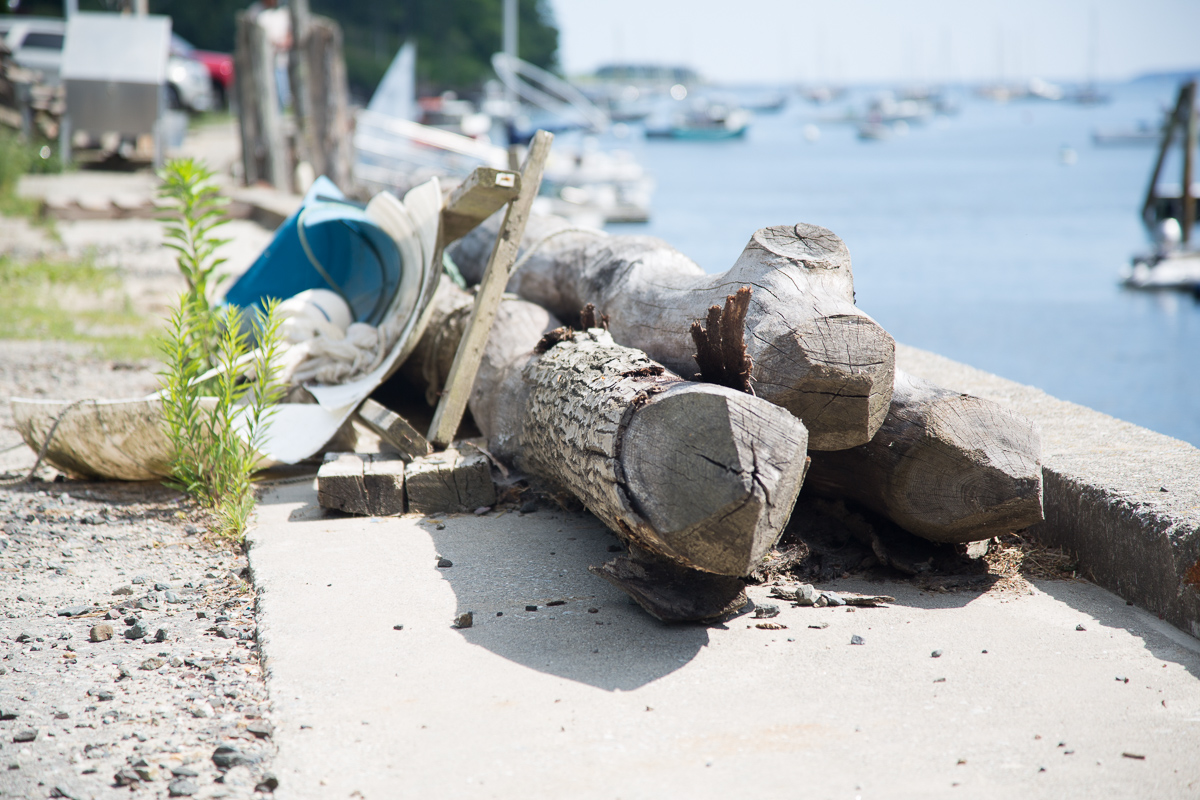
2-Gradual blurring–>Wide aperture to medium for longer distances
- Pick a scene with an object that stretches from foreground to background, like the edge of a table/desk with objects on it, or cars along a line in a parking lot.
- Try wide to medium apertures so that the foreground is in focus and gradually plus as your eye travels toward background.
- Compare this to an image in narrow aperture (high number) with all of the scene in focus
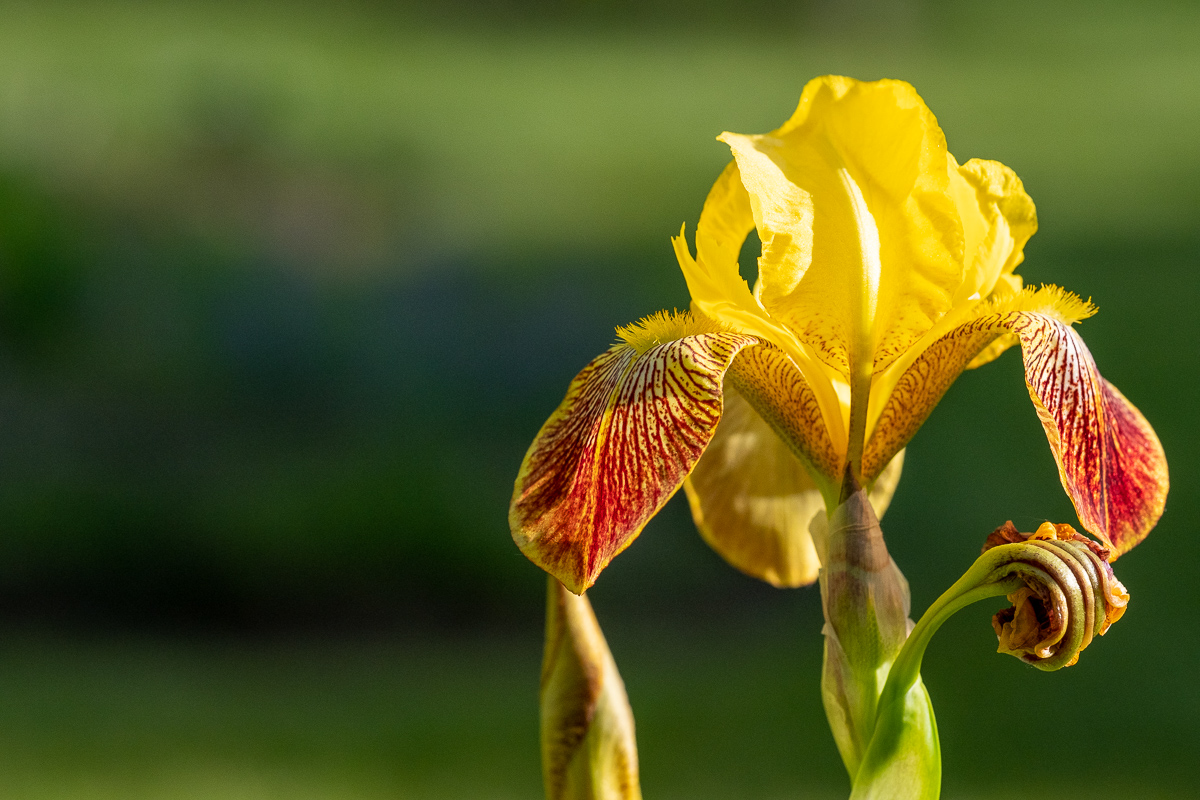
3-Isolate foreground object–> Wide aperture–low numbers

- Pick a scene with interesting object in the foreground and a background that is less important. Portraits are often like this.
- With lens in auto-focus, and using the camera’s focus points, take a photo with near object in focus and background blurred
- You can also try this with lens in manual focus, and turning the focus ring to get foreground object in focus.
4-Isolate background object–> Wide aperture–low numbers
- Pick a scene with interesting object in the background and a foreground that is less important. landscapes can be like this.
- With lens in auto-focus, and using the camera’s focus points, take a photo with far object in focus and foreground blurred
- You can also try this with lens in manual focus, and turning the focus ring to get background object in focus.
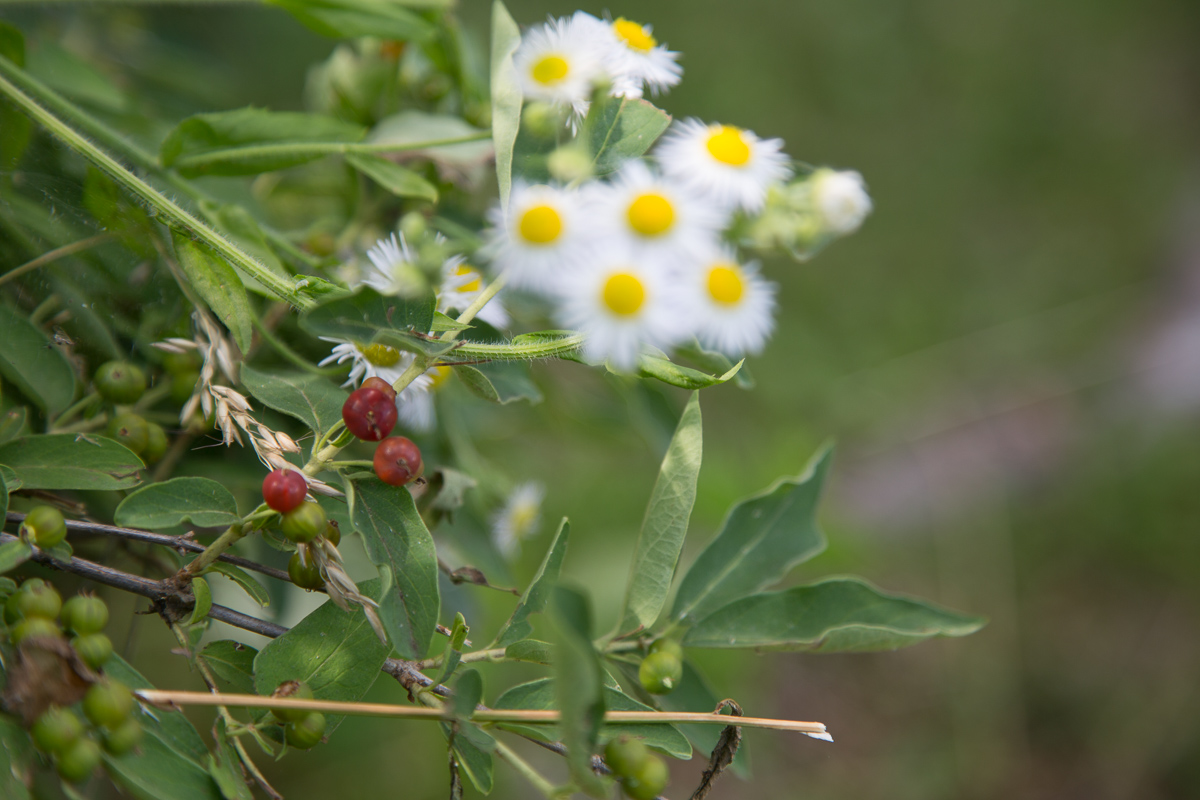
5-Isolate middle ground object–> Wide aperture–low numbers
- Pick a scene with interesting object in the middle ground with fore and back-ground objects. Kids in playground might be examples.
- With lens in auto-focus, and using the camera’s focus points, take a photo with middle object in focus and the fore- and back-ground more blurred
- You can also try this with lens in manual focus, and turning the focus ring to get middle object in focus.
6-Everything is in focus–> Narrow aperture–high number
- Narrow apertures–like pinhole cameras get most everything in focus. Try your smaller aperture (largest number), with some scenes with objects in fore-middle- and back-ground, and see if you can get them all in focus. You might try the leaves on a tree branch that points toward you, for example. Can you get all the leaves in focus?
- Try using different focus points with this image and see if you notice any differences.