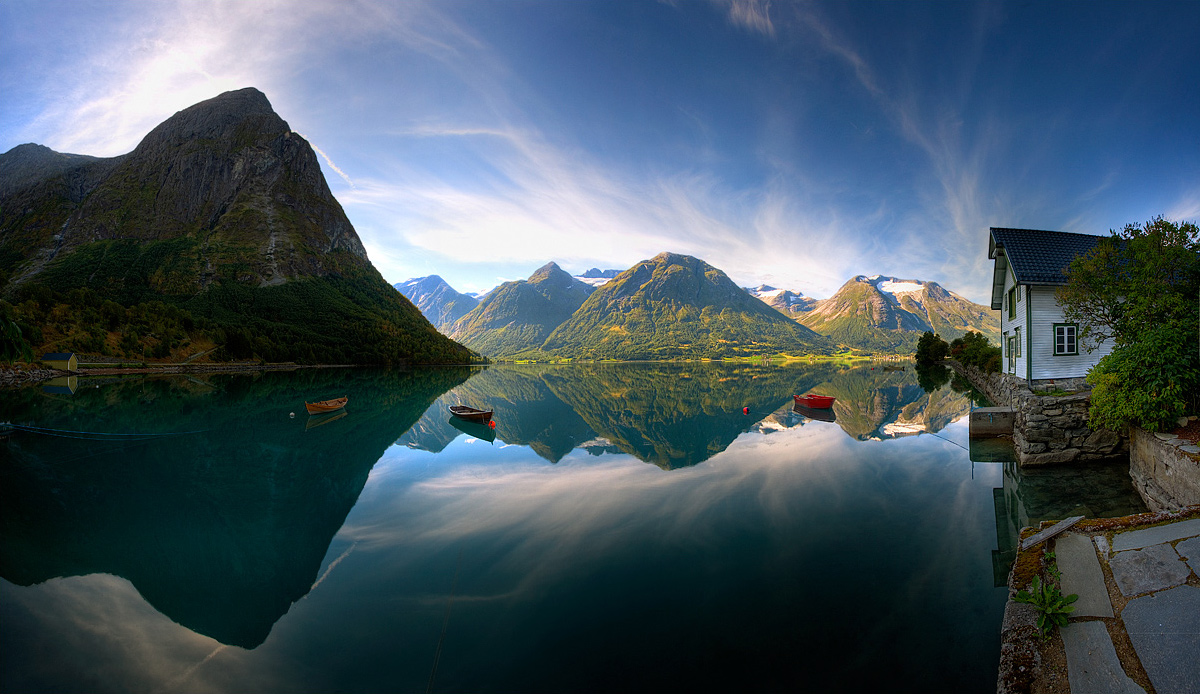
High Dynamic Range (HDR) Images
Create three High Dynamic Range image, using regular, under and or-exposed images of the same scene, for three different scenes. It helps to get scenes at sunrise or sunset, or have some composition with extreme light and dark areas so you can see the real benefits on an HDR strategy.
To do this find your camera’s AEB settings, and then with the regular exposure set to 0, use the scroll wheel to “bracket” two images on either side of this 0, at +1/-1 or +2/-2. Finally, change your “drive mode” from single photo to “continuous (high). This will then make your camera take 3 images with one shutter press.
To capture these images, a tripod or some way to steady the photo is essential.
Using Lightroom, use Photo–>Photomerge–>HDR to create at least one final HDR image (you can repeat the process and create many versions, say a color and a b/w image.) for each of your 3 scenes. You should then end up with 3 sets. Each set will have the original 3 images plus the HDR image.
For each of your auto-exposure bracketed (AEB) images (3-5) and their HDR versions, export all images as web sized jpg, and upload to a gallery–you will have 3 galleries total.
