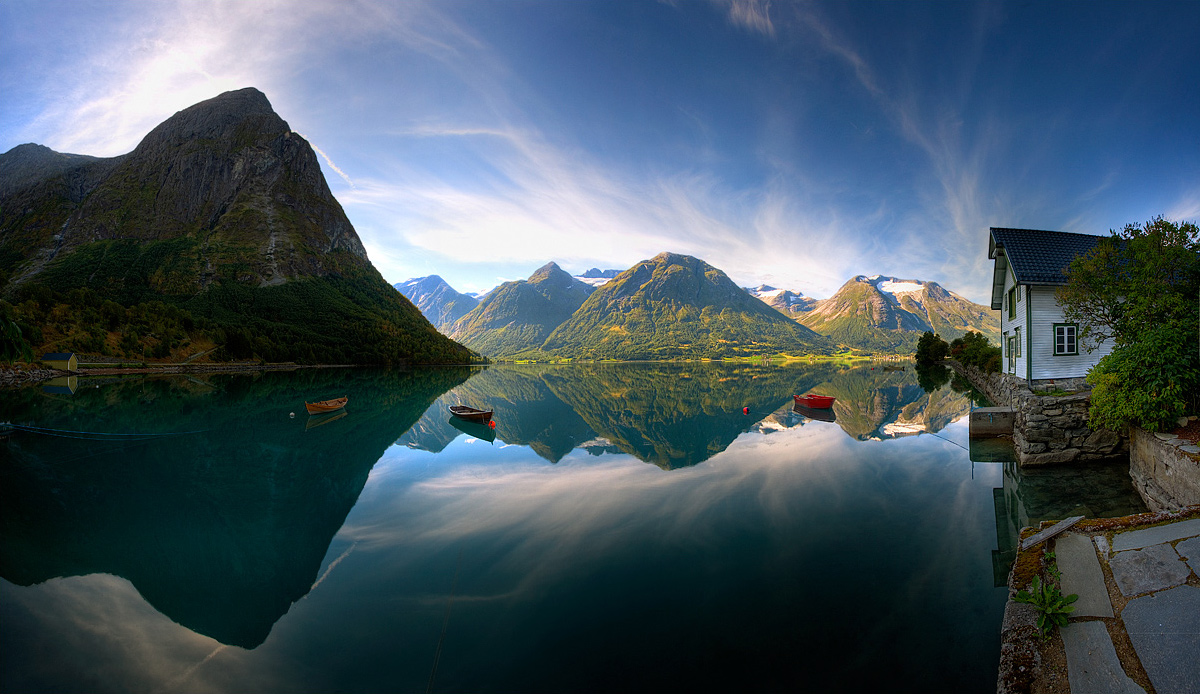
High Dynamic Range (HDR) Images
Create a High Dynamic Range image, using regular, under and or-exposed images of the same scene.

To do this you will need to find out how your camera does auto-exposure bracketing [AEB]. Typically you make the adjustment with the exposure tool, setting 3 or 5 images for each “burst” and then setting the number of stops above/below normal or 0.
Then you must select a scene that has both very bring and very dark areas. Sunrise or sunset scenes are often have broad dynamic range. Or anything that has a combination of bright light and shadow.
First compose your scene. A tripod is essential. Test a few scenes before you set to AEB, to see which will ultimately work best , then try a “burst” of 3-5 AEB photos. Beware that HDR images take up LOTS of hard drive space, so you may want to ensure you have plenty of space.
Using
- Google Nik software (which you must install with Lightroom off), within Lightroom, create at least one final HDR image (you can repeat the process and create many versions, say a color and a b/w image.) Aim for at least 2 successful HDR images. You may need 6-8 scenes for this to work out well–so get plenty of “material”.
OR - Lightroom Merge–>HDR. This is simpler and gives you fewer options, but will work fine.
For each of your auto-exposure bracketed (AEB) images (2-3) and their HDR versions, export all images as web sized jpg, and upload to a gallery. So you should have a gallery for each HDR set. Use category “High Dynamic Range”. Use captions to distinguish final HDR images, and the “preset” you used.