Lightroom Workflow
Workflow & Import
Create a workflow process in Lightroom that allows you to quickly organize, process and export images so that you can get your work out into the world quickly and efficiently.
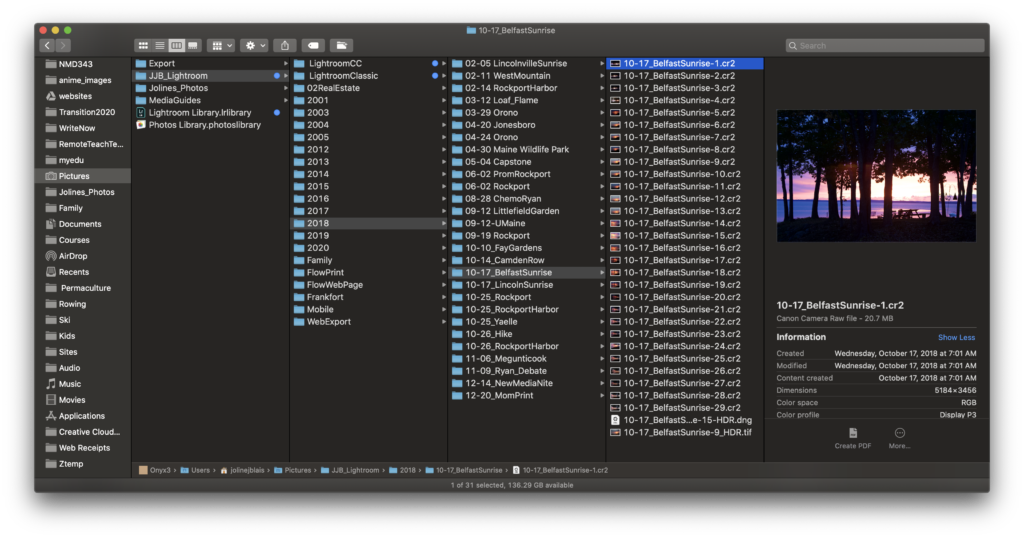
First organize your files in parallel to your computer. Below is a sample from my Pictures folder that mimics my structure in Lightroom:
- Try Importing Images with the Import button in Lightroom. Later you can create an Import “preset” for importing images.
- In Library Mode, Sort your photos using P (pick) U (unpick), or X (reject) to focus on the ones you will be using.
- You can also color labels (6-9) and star ratings (1-5) to sort your favorites, or special edits.
Processing
For now, there is no need to do any processing in Lightroom besides learning the basics. For example, In Develop Mode, you may want to see how the basic settings change when you select AWB “auto” White Balance. And also if you select “Auto” in Tone Control. This is a basic Lightroom Automatic exposure and processing settings to give you a good histogram. Try each of these then do a Command-Z to undo.
Collections
You may also want to create Regular and Smart collections so you can view your sets of images easily. I like to create smart collections that have 4+ stars, and also 5 stars, as well as ones that have particular labels like “all red label” photos–which may be my color code for great landscapes.
Images
If you need to work with sample raw images find them here.
Post settings:
- Post Title: FirstL-Project 2 ( First=first name, L=last name initial)
- Post format: Standard
- Post category: Project 2
RAW Export, Before/After Slider, etc
Create an Export preset with the following settings: name your files with your full name, followed by sequence number, set resolution to 72 dpi, longest side length to 1024 px, and file type to jpg, with max file size around 500k. Pick your 4 best photos and export them. Then Create a post and add these 4 jpg photos to your post in a Gallery.
Once you have taken more images, you may want to learn basic post-process in Lightroom. Open the histogram window and use it to guide your setting adjustments. Using the Crop tool, and the Basic settings (and more if you are already comfortable with them), to alter your images to improve composition, exposure, detail, clarity and tone. You may choose to make them more realistic or more artful. Have a goal in mid when you process, as it can be tricky to simple aim for the best photo–there are many ways to get the best photo (e.g. b/w, natural, painterly, surreal, etc.)
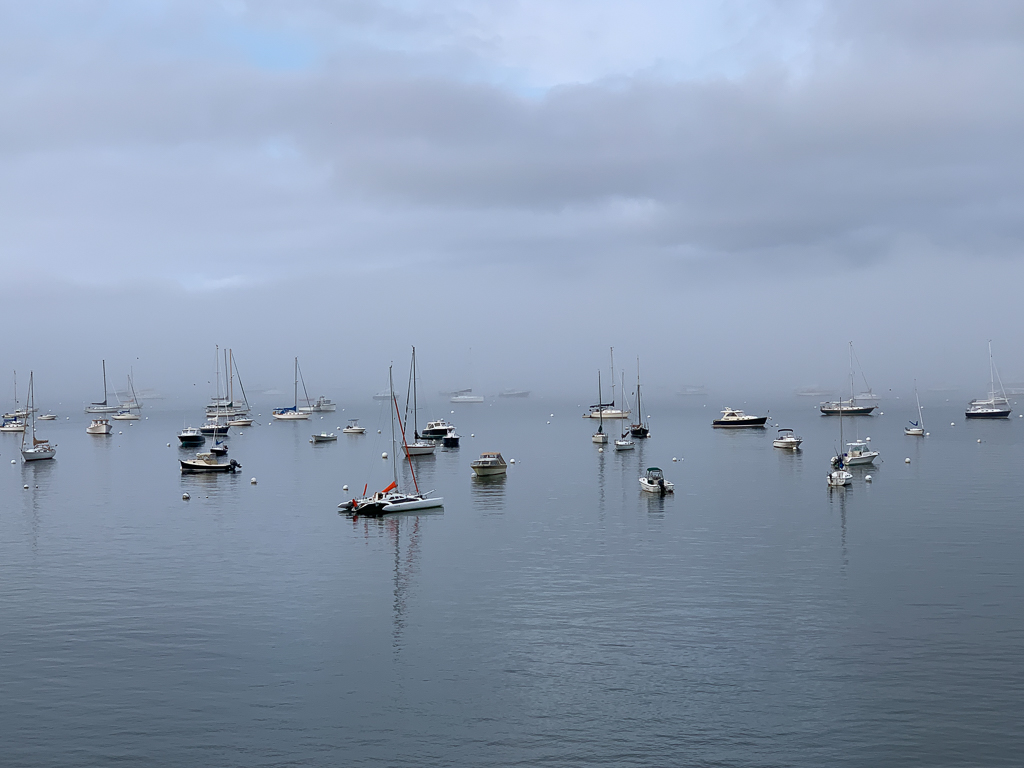
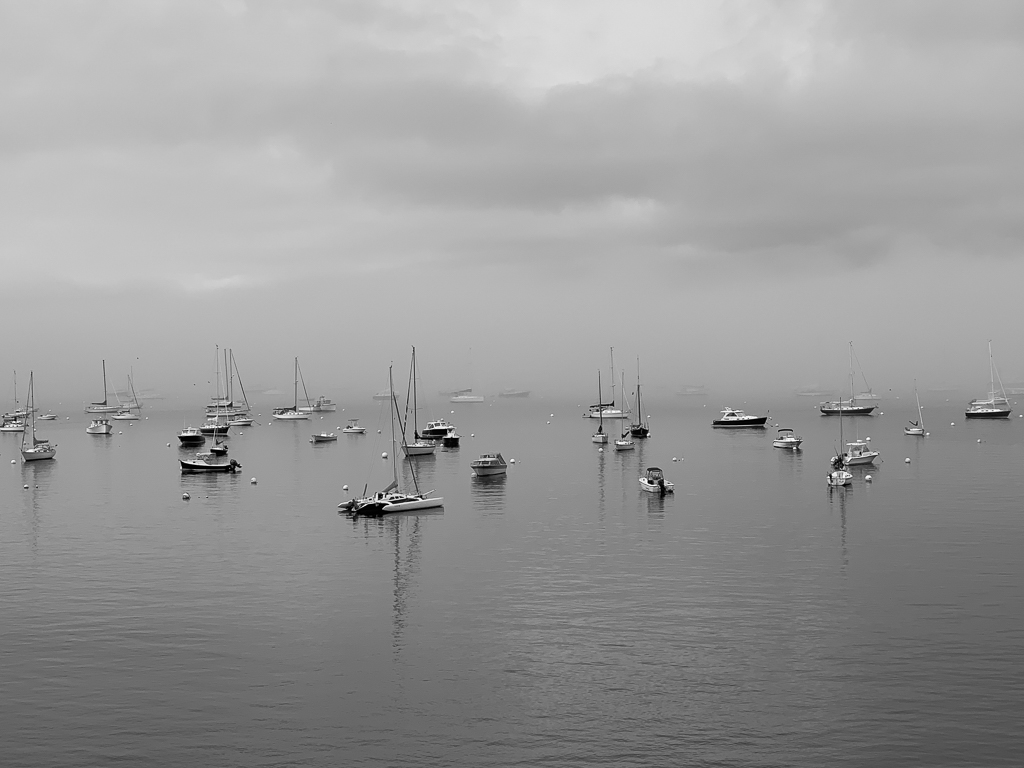
Later we will try a before/after edits as follows: Pick four of your best edits and export the before and after images as jpgs for all ten images. Then use the Twenty20 button at the top of the post to show before/after version for these 4 images. Your aim should be producing good photos, but you may also include experiments that just taught you something you value, or something that would be fun to share with the class. Post 4 sets of 2 images for review in class.
Example:


