WordPress Install
Portfolio
- Get Dreamhost hosting, using your @maine.edu email; if you used another email, go to your profile/account in upper right (see my tiny photo in first image upper right near Joline) and edit your email so it’s the @maine.edu one (you can change it in a few months if needed; but ANY WordPress install you create will use this Dreamhost email).
- (If you mistakenly installed any WordPress sites, you may need to ask me to delete them before installing any other ones–I can do this in class)
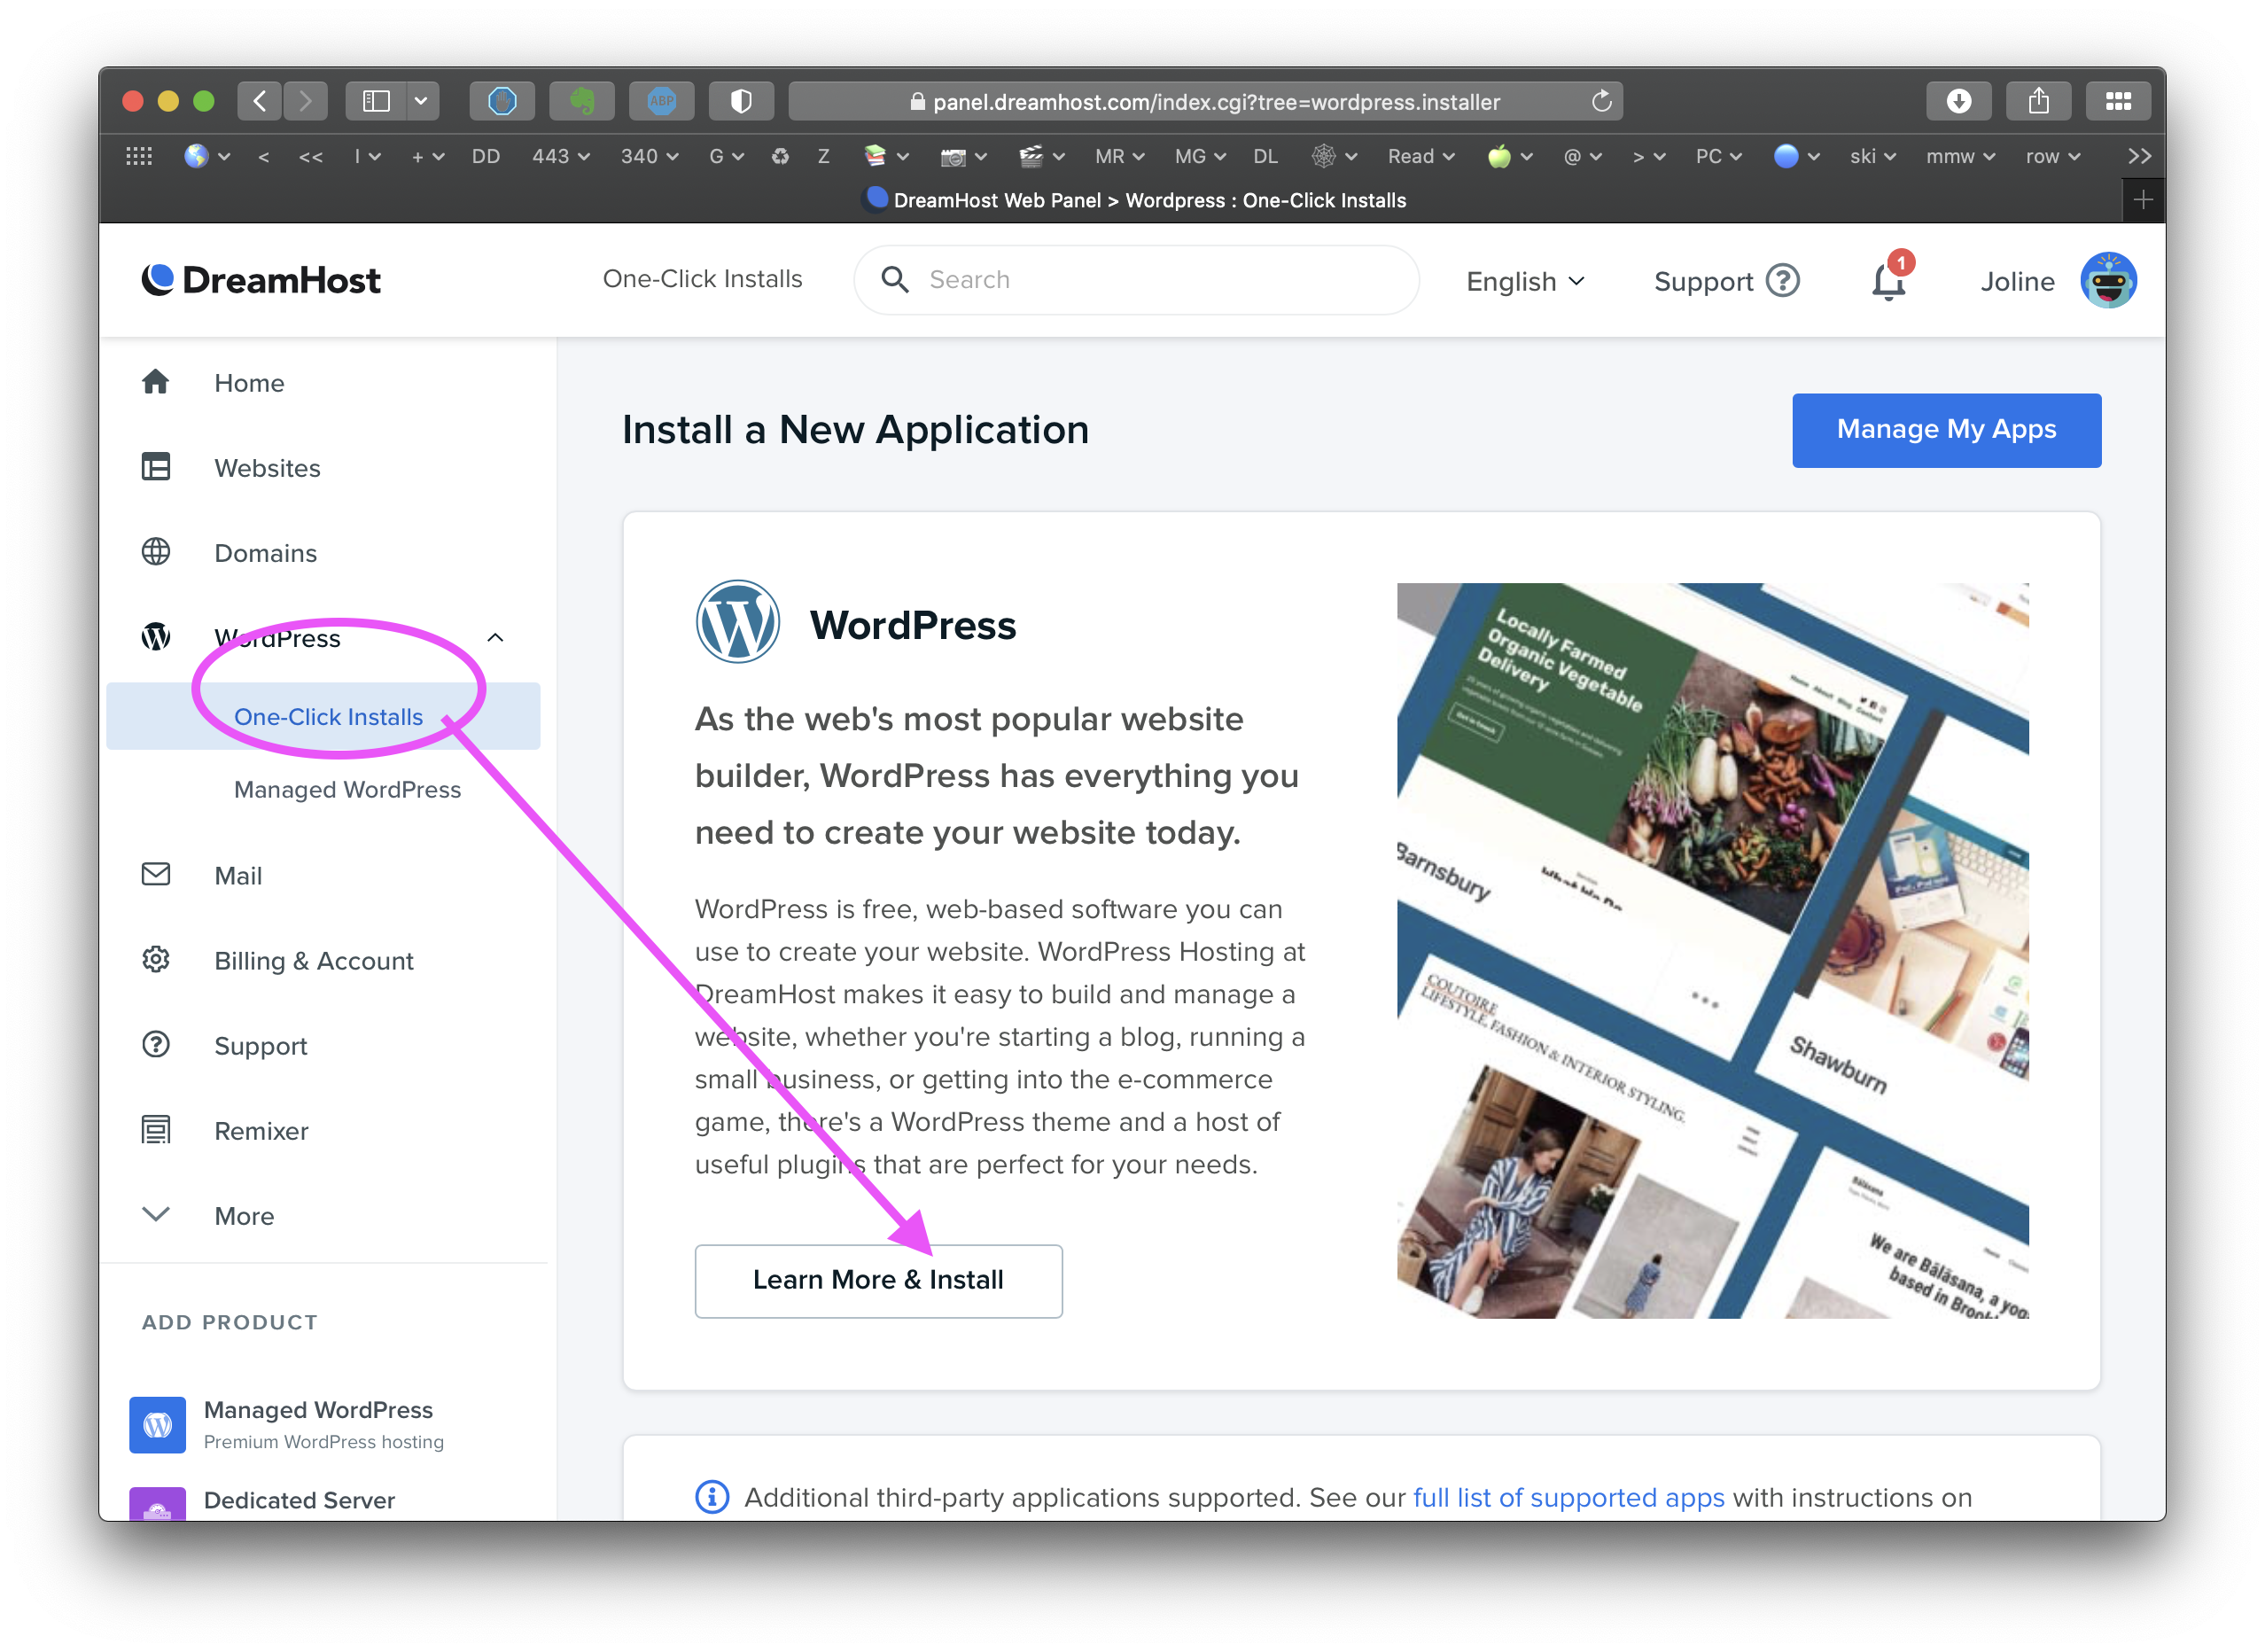
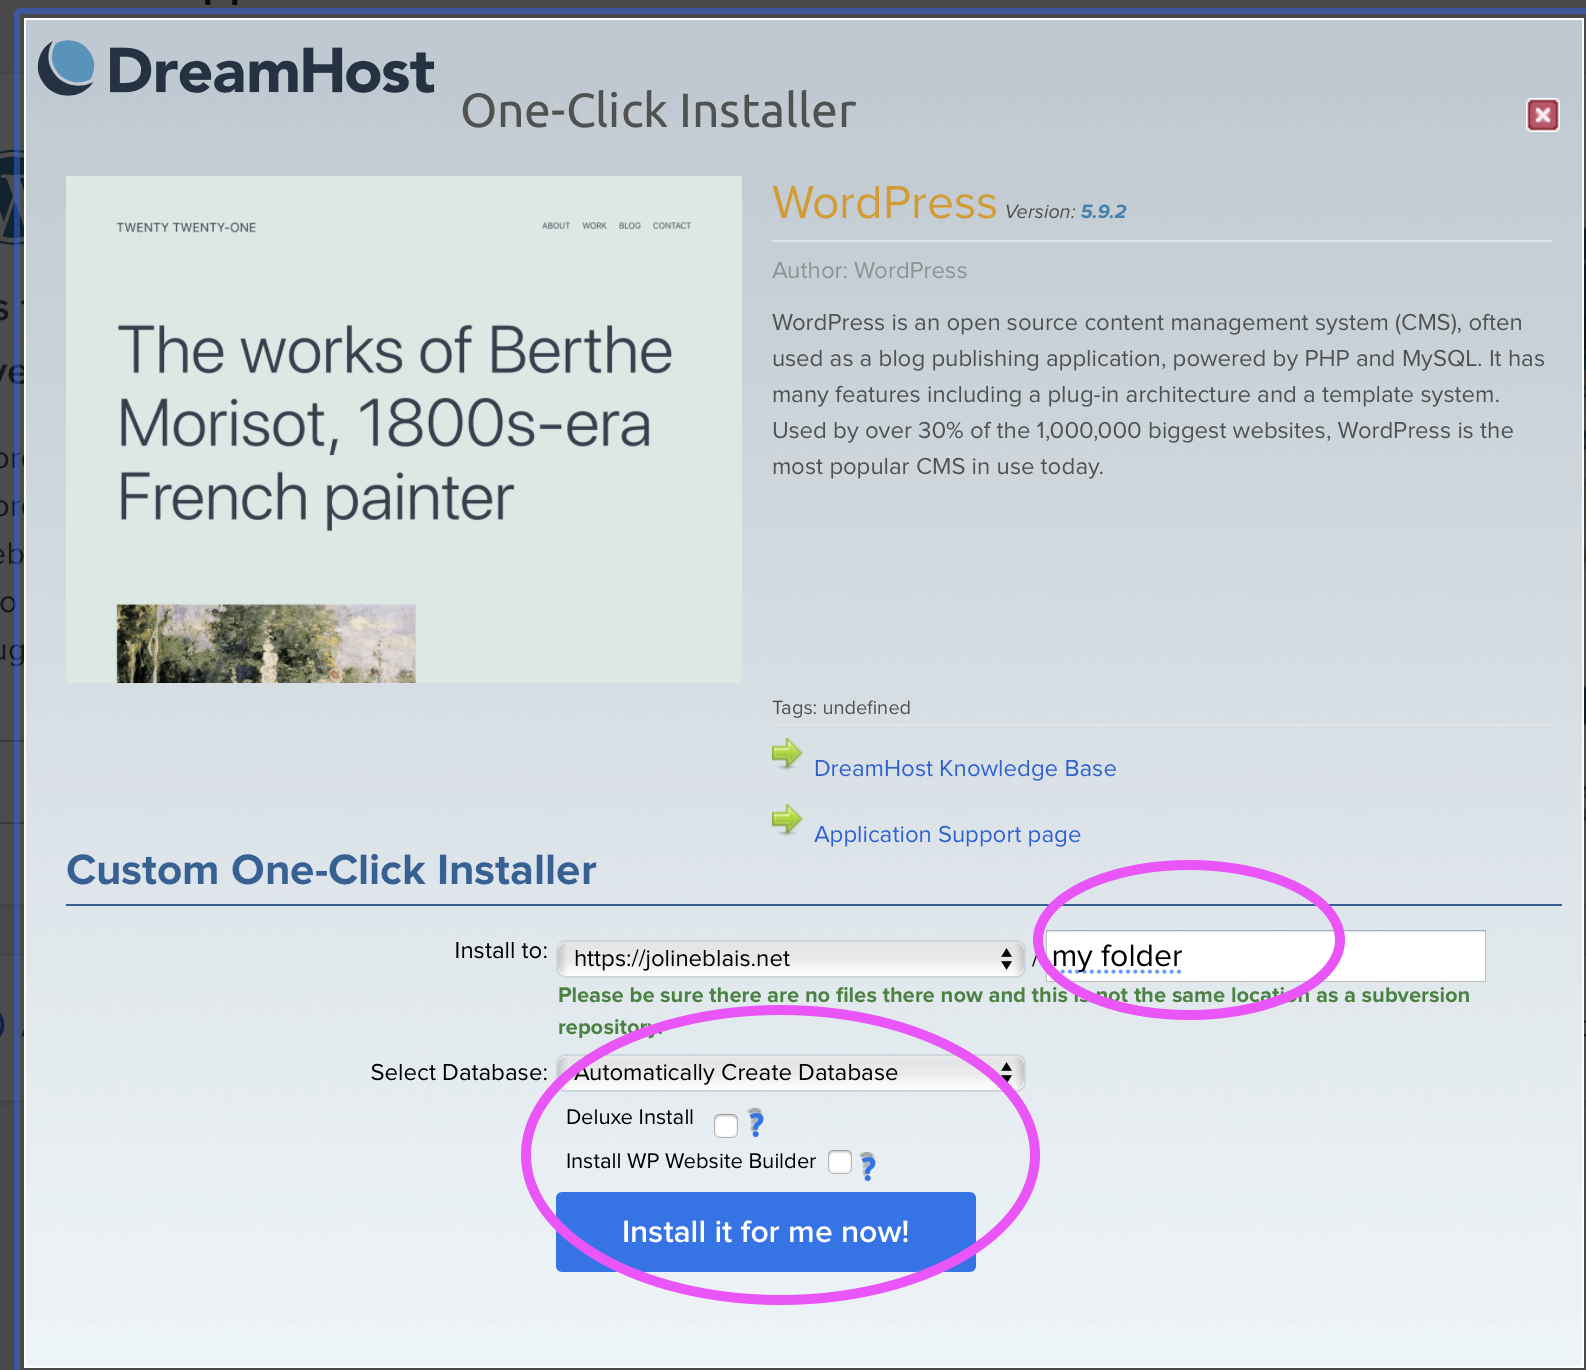
- Install WordPress with “WordPress–> One Click Install”. Add a folder when Installing, and check OFF the 2 tick boxes. ANY Install of WordPress should be in a folder–that’s what the blank box is for–ie the folder name, which will become the last part of your URL after your domain name. Keep the Automatically Create Database.
- Once WordPress is installed, you should find the email (it will be @maine.edu IF your Dreamhost account is set to that) and set it to the SAME password as on your local site–this will avoid any password confusion, as they should be NO change. Wordpress ALWAYS links your website to your email address which cannot change, and Dreamhost uses its email on file to create your WordPress email for each One-Click Install.
- Then add the All-in-one Migration plug-in on both your local site & your new Dreanhosted WordPress site.
- You will need to login to your Dreamhosted WordPress site to do so. Your URL wil now likely be http://mygreatdoman.com/portfolio; Use http://mygreatdoman.com/portfolio/wp-admin to login to your new Dreamhosted WordPress site.
- On your local site, use the plugin to export your site as a “file” on your local computer.
- In your Dreamhost WordPress site, use the All-in-one Migration plug-in (see tab in Dashboard once you activate the plugin) and IMPORT the file that you created from your local website.
- Both sites will now have the SAME email/password, since you just imported that (complete with login info).
Client
Client sites work the same way in steps 1 & 2, but you may not be importing any clones sites, AND you must use a new folder when you do the 0ne-click-install; ie not “portfolio” but maybe “wbbfestival” or whatever identifies your site–no caps, no spaces. You can even use the same email/password for the client site; as your teammates will also create their own when you add them as “Users” with Admin role to the client site
You must be logged in to post a comment.