
How to Migrate a website using All In One WP Migration plugin
- Login to your Dreamhost account and navigate to WordPress –>One Click Installs.
- Install WordPress in a NEW FOLDER on your Dreamhost account, following these instructions.
- An email (based on your Dreamhost account email) will be sent to you from WordPress to set your password. Use an easy temporary password, as it will be replaced when you import your local site.
- On each of your two sites: login to WordPress Dashboard. In WordPress Dashboard go to Plugins–>Add New. Search for All In One WP Migration plugin
- Install the All In One WP Migration plugin plugin & Activate it on your source (local) site and on your Destination {online) WordPress site. A new All In One WP Migration plugin tab will appear in the black menu area of the Dashboard. Use this tab to do all import/exports.
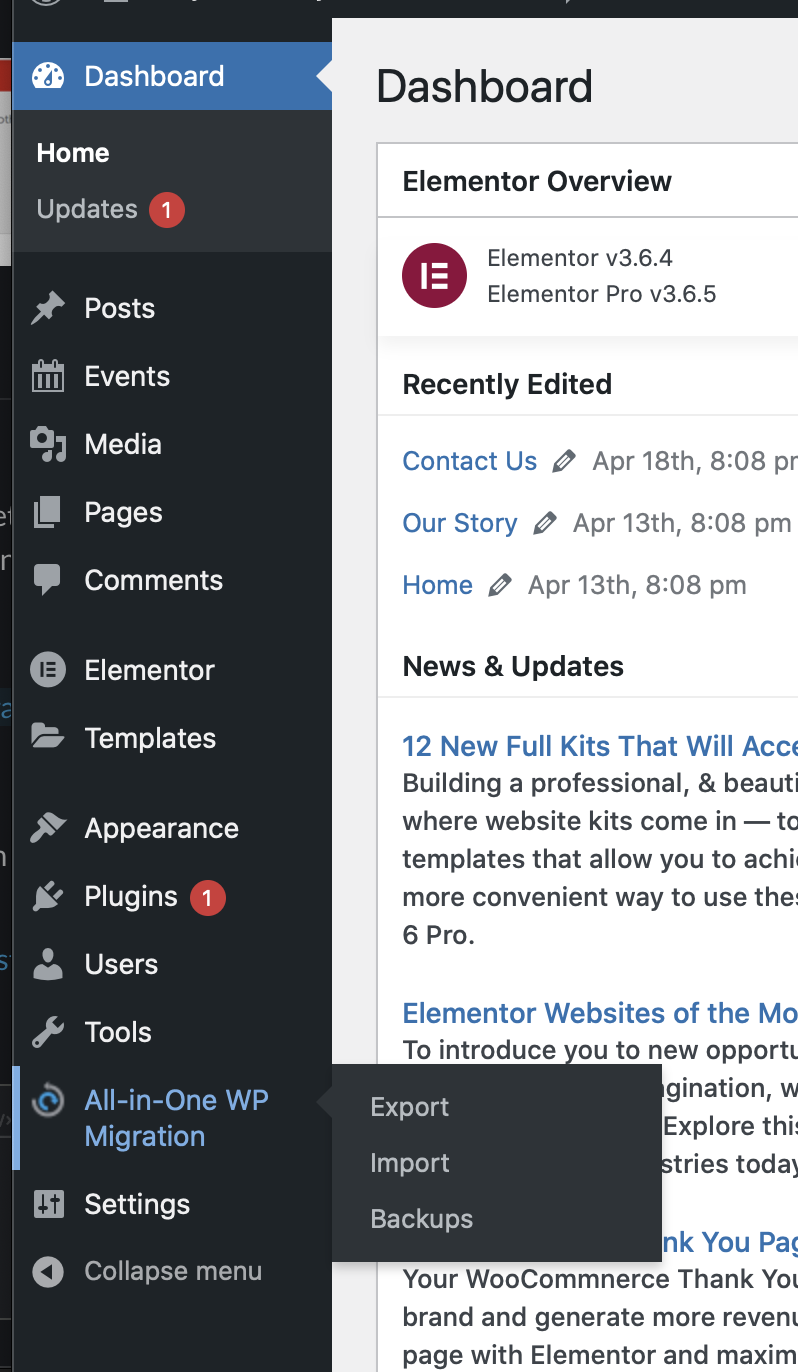
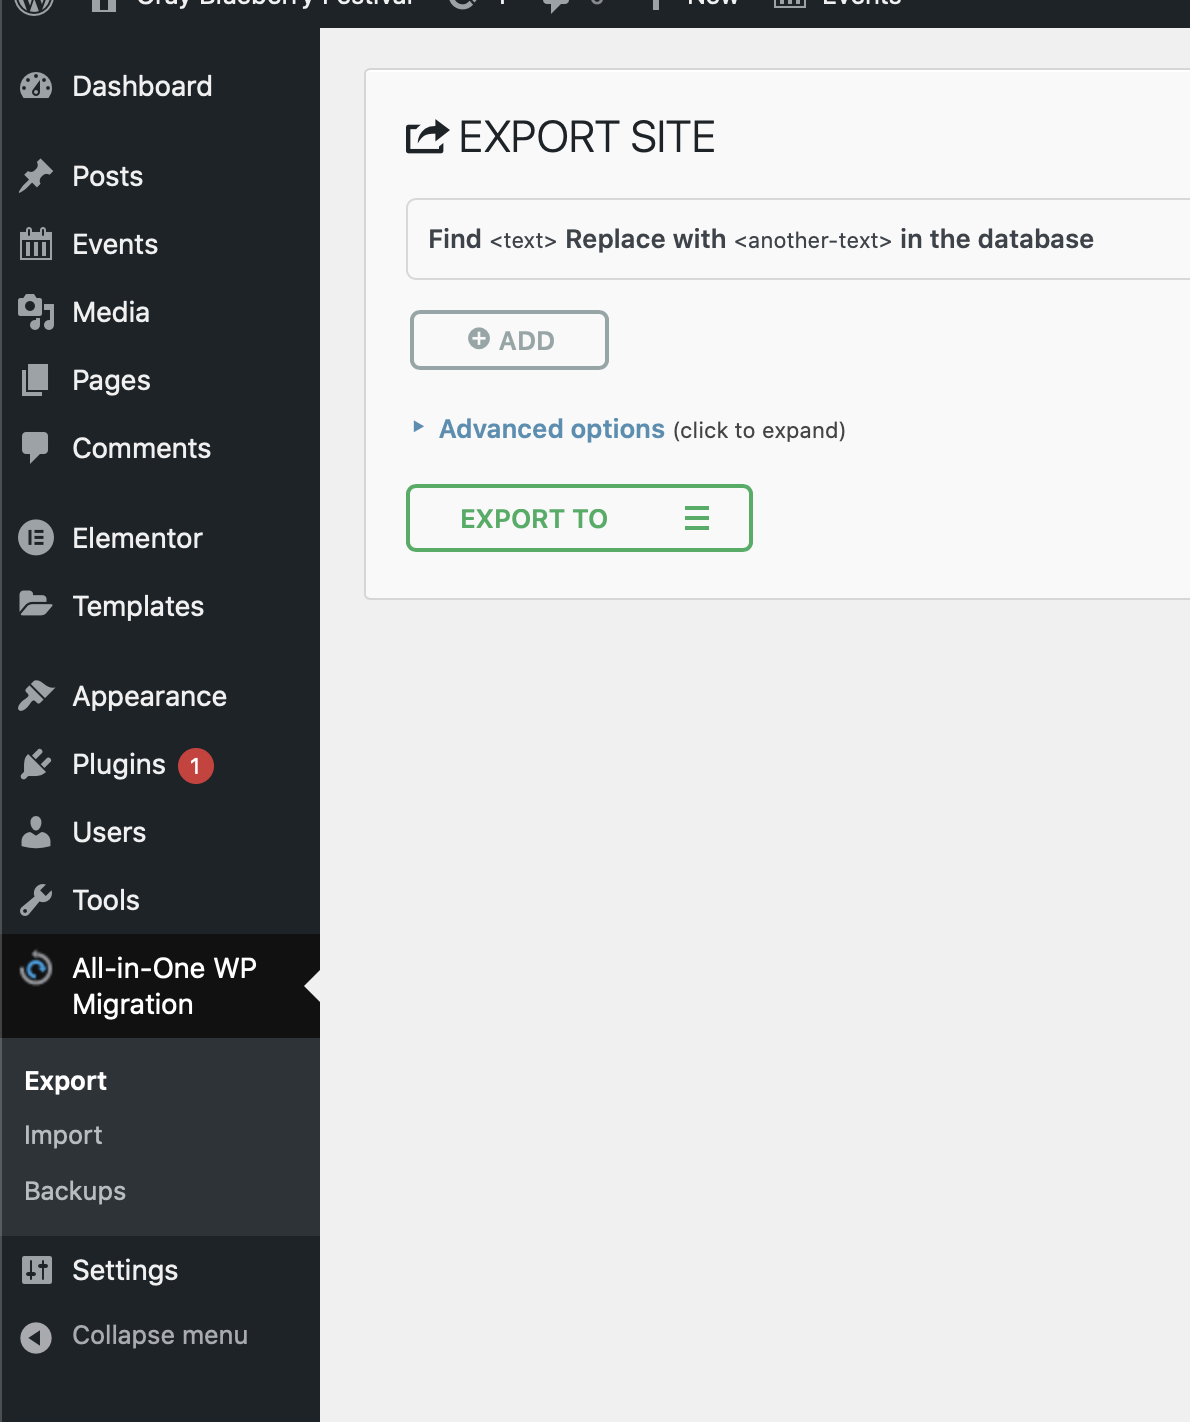
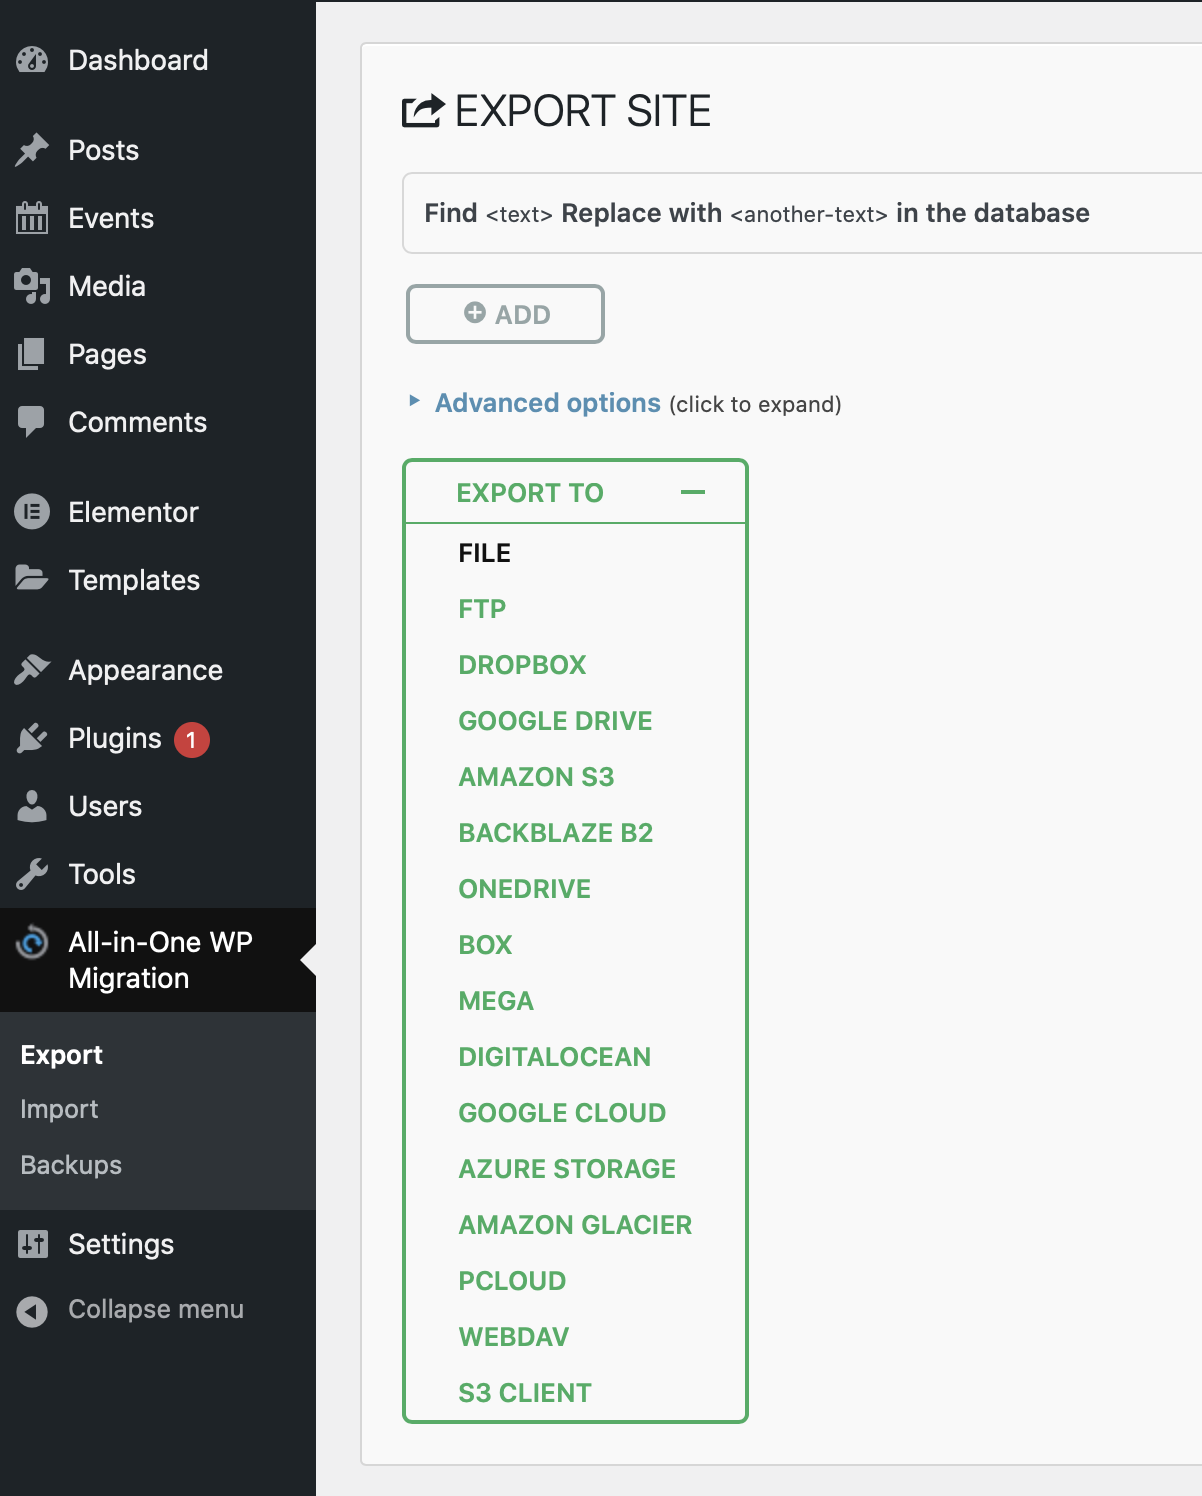
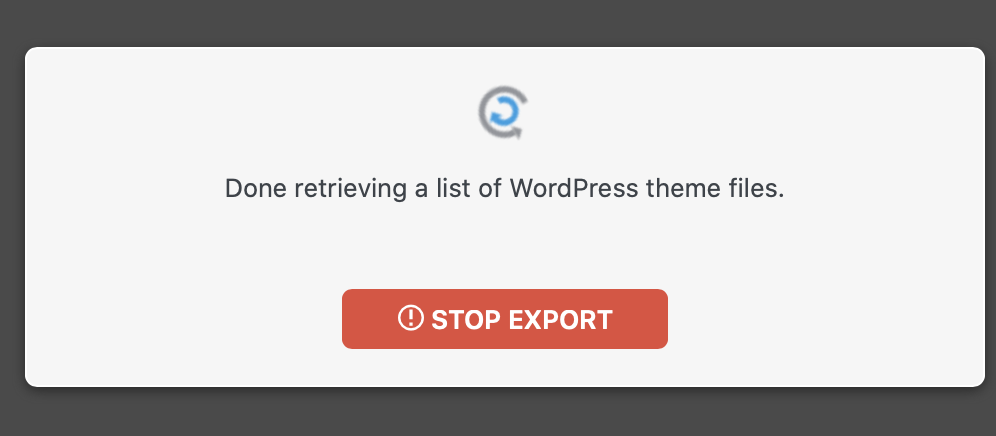
- Now export your Source (local) website via the All-in One Migration plugin with the Export To button (Ignore the ADD button . This will generate a file with extension .wpress
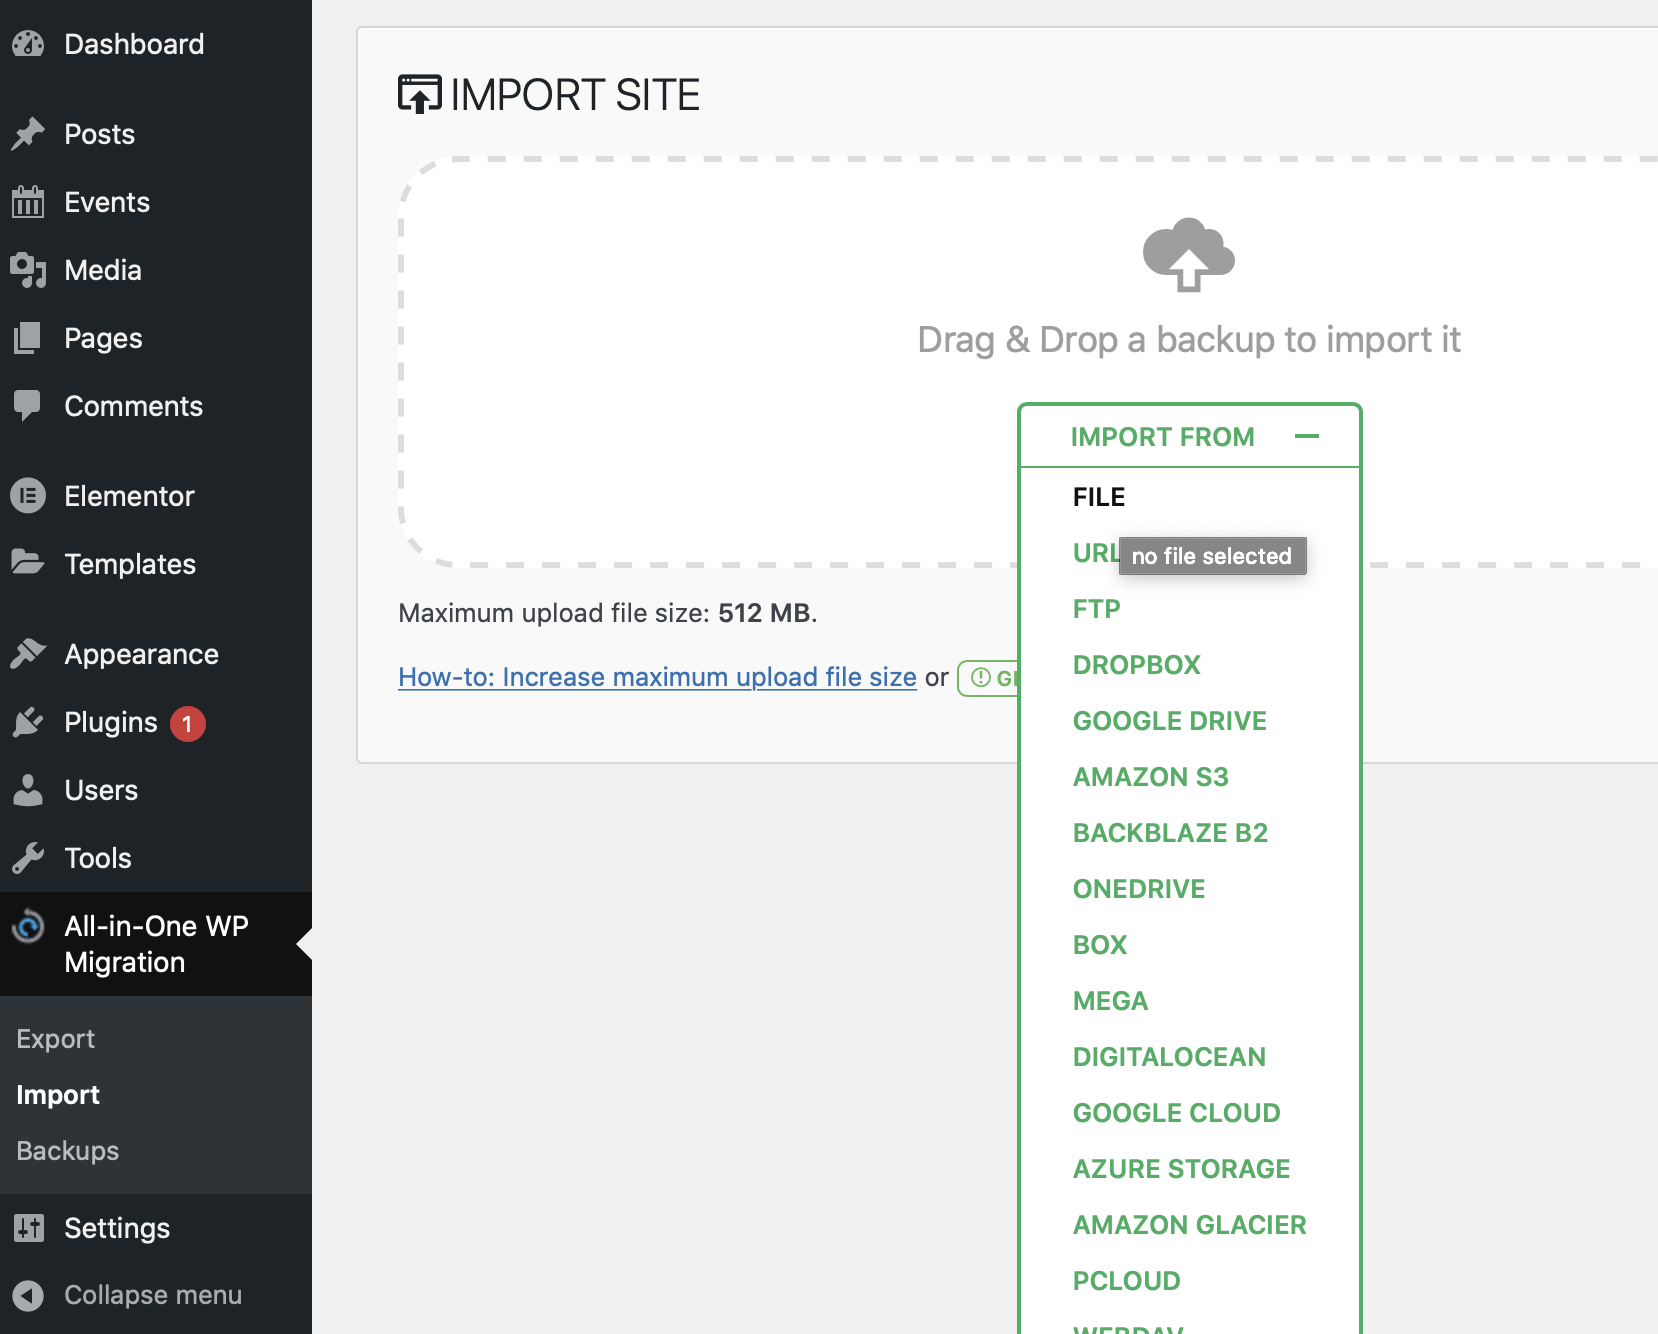
- Then login to your WordPress Destination (online) site. Go to All-in One Migration plugin and import. You will be asked to replace/delete all current info (in order to replace it with all the content from your Source WordPress site.
- Make sure your email in your Source (local) WordPress site is your @maine.edu email–as your user/email /password will ALSO be imported onto the new site.
- Once import is complete, you will only be able to login to the update site with the original user/email/password from your Destination (local) site. As that info replace the temp password you gave tot he Destination site earlier.
- Login to the updated Destination (online ) WordPress site, using the user or email//password from the Source (local ) site, then in Dashboard go to User–> Add New–> add me (see Slack #Wordpress for my credentials to add) and also add your teammates–all as Administrator.
You must be logged in to post a comment.